Cleaning your laptop screen is essential for maintaining a clear view and extending the life of your device. Over time, dust, fingerprints, and smudges can accumulate, affecting both the screen’s clarity and your overall experience. Here’s a comprehensive guide to help you clean your laptop screen effectively without causing any damage.
Why Regular Cleaning is Important
Regularly cleaning your laptop screen not only keeps your display looking fresh but also enhances your viewing experience. Dust and fingerprints can reduce screen brightness and sharpness, making it harder to work or enjoy multimedia content. Additionally, proper cleaning prevents the buildup of grime that can potentially harm your laptop’s screen over time.

Gathering the Right Materials
Before you start cleaning your laptop screen, make sure you have the right materials. You will need:
- Microfiber Cloth: This is the most crucial item. Microfiber cloths are soft and non-abrasive, which prevents scratching.
- Screen Cleaning Solution: Use a solution specifically designed for electronics. Avoid household cleaners that contain alcohol or ammonia, as they can damage the screen.
- Compressed Air (Optional): To blow away loose dust and particles from around the screen edges.
Preparing Your Laptop
To ensure you clean your laptop screen safely, follow these preparatory steps:
- Turn Off Your Laptop: Always power down your device and unplug it from any power sources before cleaning. This not only prevents accidental damage but also makes it easier to see dust and smudges on the screen.
- Remove the Battery (if possible): For added safety, remove the battery if your laptop allows it. This reduces any risk of short-circuiting.
Cleaning the Screen
Now that you’re ready, here’s a step-by-step process for cleaning your laptop screen:
1. Dust Off the Screen
Start by using compressed air or a dry microfiber cloth to gently remove any loose dust from the screen. Hold the laptop at an angle to help the dust fall away from the screen. Be careful not to use too much pressure, as this can push dust into the edges of the screen.
2. Apply Cleaning Solution
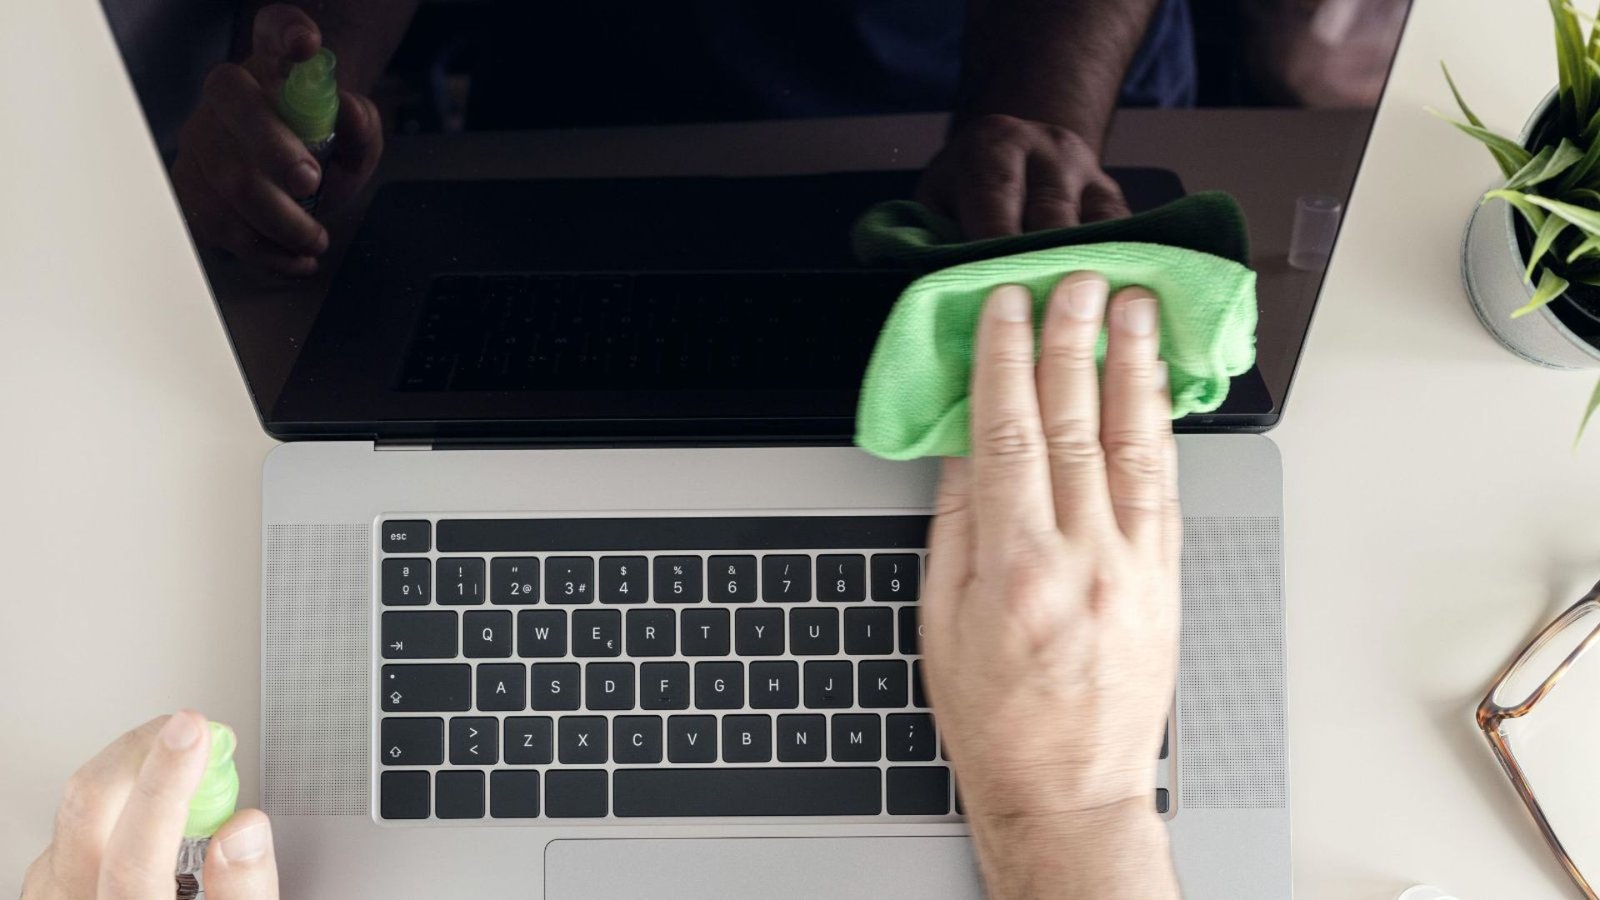
Lightly mist the microfiber cloth with a screen cleaning solution. Never spray the solution directly onto the screen, as excess liquid can seep into the laptop and cause damage. The cloth should be slightly damp, not wet.
3. Wipe the Screen
Use the damp microfiber cloth to gently wipe the screen. Start from one corner and work your way across in a circular motion. This technique helps avoid streaks and ensures even cleaning. Apply light pressure to avoid damaging the screen.
4. Dry the Screen
If needed, use a dry part of the microfiber cloth to gently wipe away any remaining moisture. This helps prevent streaks and ensures that the screen is completely dry before you power your laptop back on.
Additional Tips for Safe Cleaning
When cleaning your laptop screen, keep these additional tips in mind:
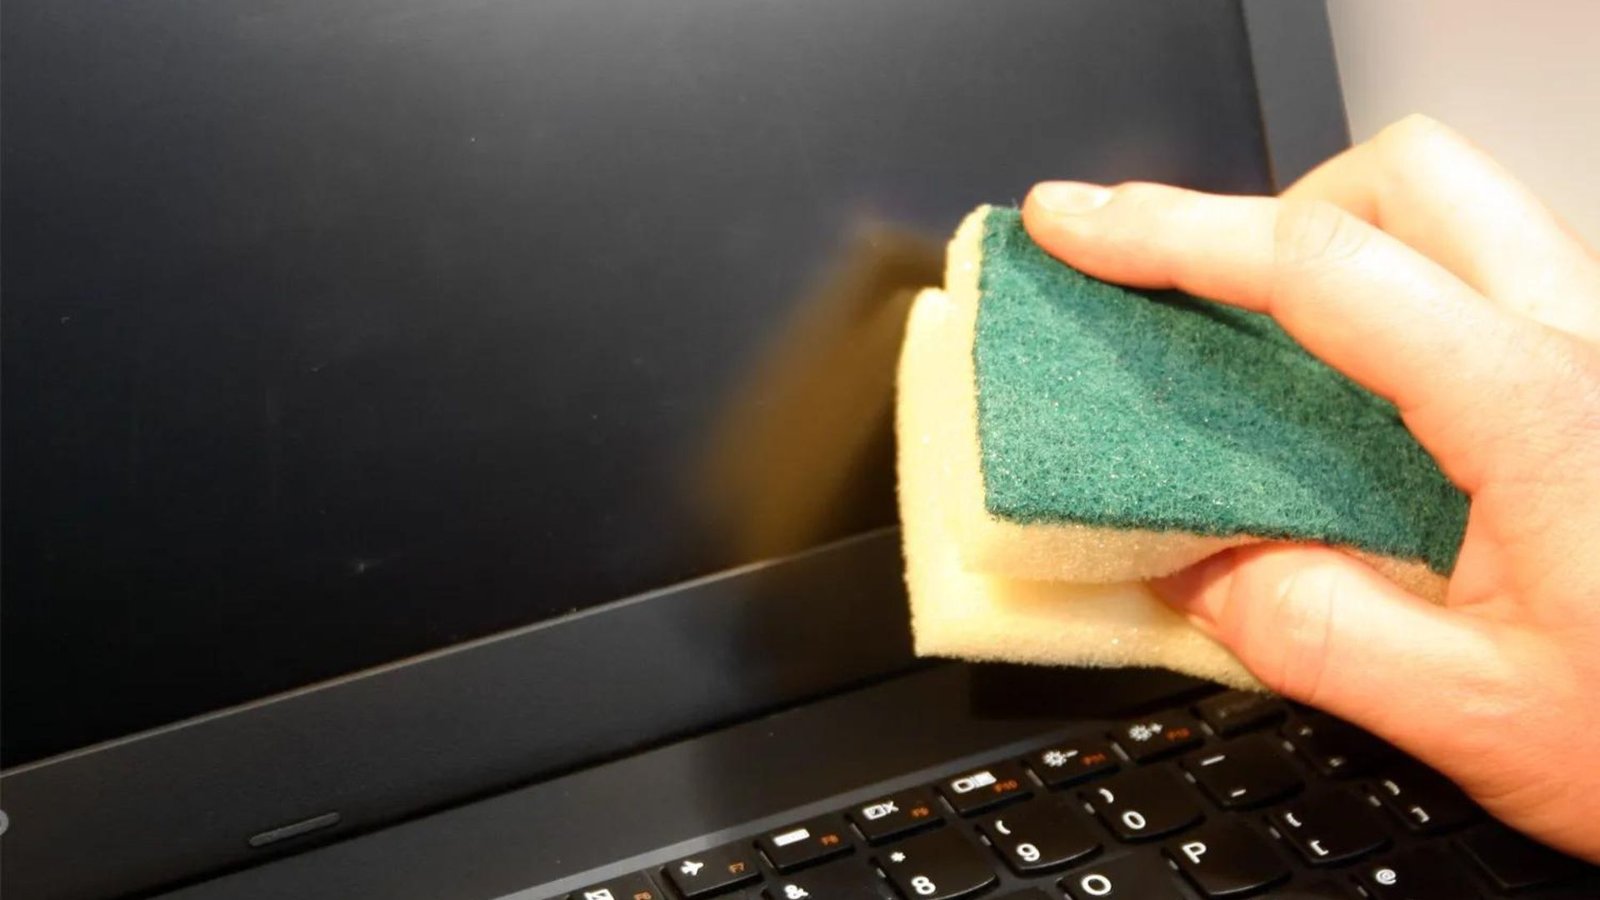
- Avoid Abrasive Materials: Never use paper towels, rough fabrics, or any abrasive materials. These can scratch the screen surface.
- Be Gentle: Apply only light pressure to avoid damaging the delicate screen surface.
- Keep Liquids Away: Ensure that no liquid gets into the laptop’s screen edges or ports. Excess moisture can lead to internal damage.
Preventive Measures
To minimize the frequency of cleaning, consider the following preventive measures:
- Use a Screen Protector: A screen protector can shield your screen from dust and smudges.
- Regular Maintenance: Clean the screen regularly to avoid the buildup of grime and dust.
- Proper Storage: Keep your laptop closed when not in use to protect the screen from dust and accidental damage.
Conclusion
Cleaning your laptop screen is a straightforward task that, when done correctly, ensures your screen remains clear and vibrant. By using the right materials and techniques, you can avoid damaging your screen and enhance your overall laptop experience. Remember to handle your laptop with care and perform regular maintenance to keep your device in top condition.


