Upgrading the RAM on your desktop can breathe new life into your computer. Whether you’re running memory-intensive applications or simply want to improve your system’s performance, adding more RAM is a straightforward way to boost speed and efficiency. In this guide, we’ll walk you through the steps to successfully upgrade RAM on your desktop, ensuring you get the most out of your computer.
Understanding RAM and Its Importance
Before going into the upgrade process, it’s essential to understand what RAM (Random Access Memory) does for your desktop. RAM is the short-term memory that your computer uses to store data that is actively being used. The more RAM your desktop has, the more data it can handle simultaneously, which translates to smoother performance and faster application load times.

Check Your Current RAM and Compatibility
How to upgrade RAM on your desktop starts with understanding your current setup. First, check how much RAM you have and whether your desktop can support additional memory. You can do this by:
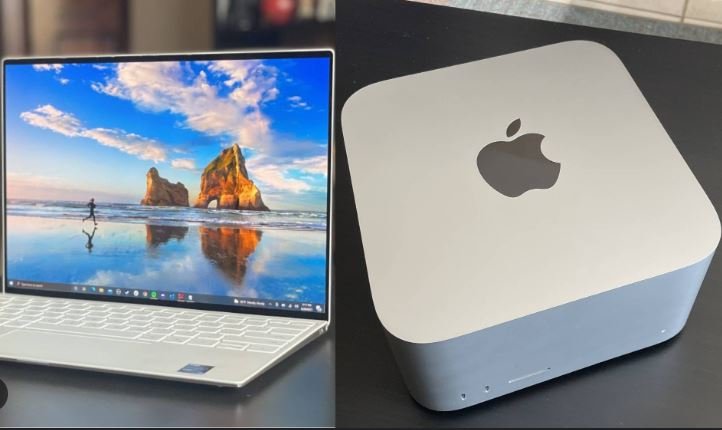
- Opening System Information: On Windows, go to “Settings” > “System” > “About” and look for the “Installed RAM” section. On macOS, click the Apple logo, select “About This Mac,” and then check the “Memory” tab.
- Checking Your Motherboard’s Specifications: Look up your desktop’s motherboard model online to find out the maximum RAM capacity it supports and the type of RAM it requires.
Choosing the Right RAM
Once you know your current RAM and motherboard specs, you need to select the right RAM for your upgrade. Consider the following:
- Type of RAM: Make sure the new RAM is compatible with your motherboard. Most desktops use DDR4 RAM, but check your motherboard’s specifications to confirm.
- Capacity: Determine how much additional RAM you need based on your usage. For general use, 8GB to 16GB is often sufficient. For more demanding tasks, such as gaming or video editing, consider upgrading to 32GB or more.
- Speed: Match the speed (measured in MHz) of the new RAM with your existing RAM to ensure compatibility and optimal performance.
Preparing for the Upgrade
Before starting the upgrade process, prepare your workspace:
- Power Down Your Desktop: Turn off your computer and unplug it from the power source to ensure safety.
- Gather Tools: You might need a screwdriver to open your desktop case. Additionally, use an anti-static wrist strap to prevent static electricity from damaging your components.
Installing the New RAM
With everything prepared, follow these steps to install the new RAM:
- Open the Desktop Case: Use a screwdriver to remove the screws holding the side panel of your desktop case. Gently slide off the panel to access the internal components.
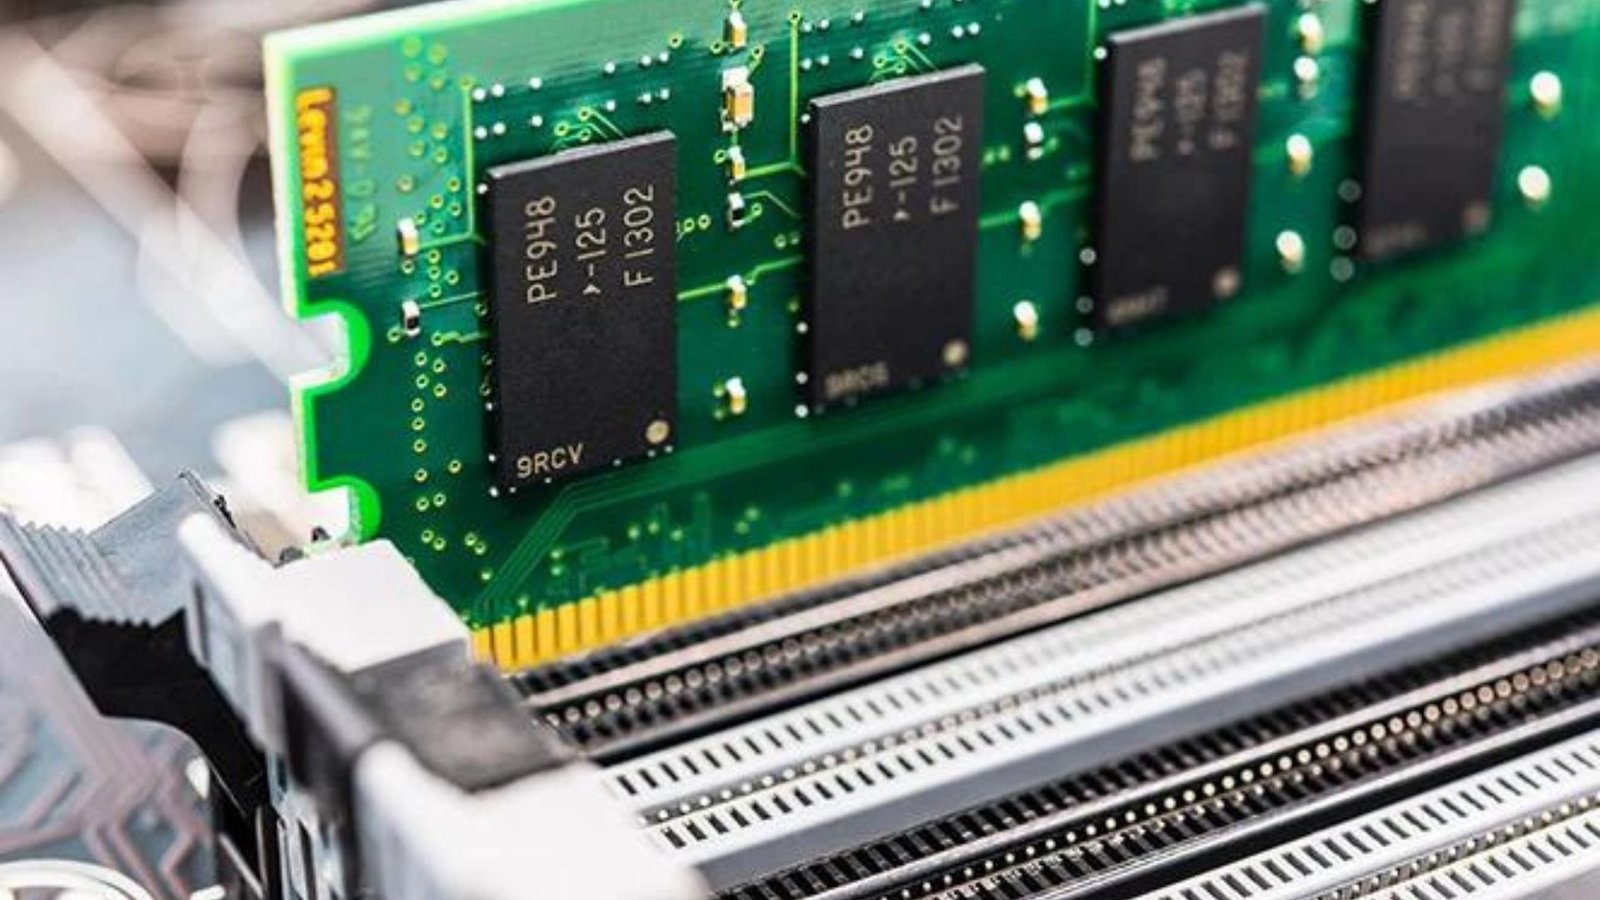
- Locate the RAM Slots: Find the RAM slots on your motherboard. These are typically long slots near the CPU.
- Insert the New RAM: Align the new RAM module with the slot, ensuring that the notches on the RAM match the keys in the slot. Gently press down until the RAM clicks into place. Ensure that the clips on either side of the slot snap into place, securing the RAM.
- Replace the Side Panel: Once the new RAM is installed, reattach the side panel of your desktop case and secure it with screws.
Testing the Upgrade
After installing the new RAM, it’s important to test your desktop to ensure everything is working correctly:
- Reconnect and Power Up: Plug your desktop back into the power source and turn it on.
- Check RAM Recognition: Go back to the system information section to verify that your computer recognizes the new RAM. On Windows, this is under “Settings” > “System” > “About,” and on macOS, it’s under “About This Mac” > “Memory.”
- Run Performance Tests: Use performance monitoring tools or run applications to check that your system is running smoothly with the new RAM.
Conclusion
Upgrading the RAM on your desktop is a valuable way to enhance your computer’s performance and handle more demanding tasks with ease. By following these steps—checking compatibility, choosing the right RAM, and carefully installing it—you can boost your desktop’s speed and efficiency. Remember to test your system after the upgrade to ensure everything is functioning correctly. With these improvements, you’ll enjoy a more responsive and capable desktop experience.


