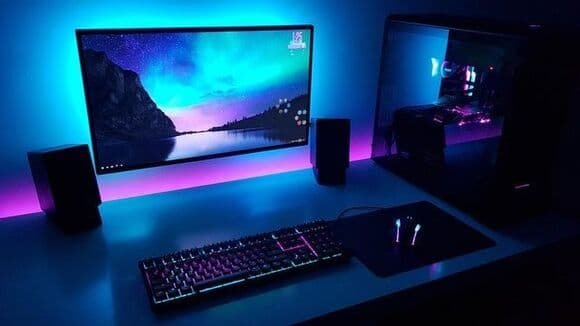
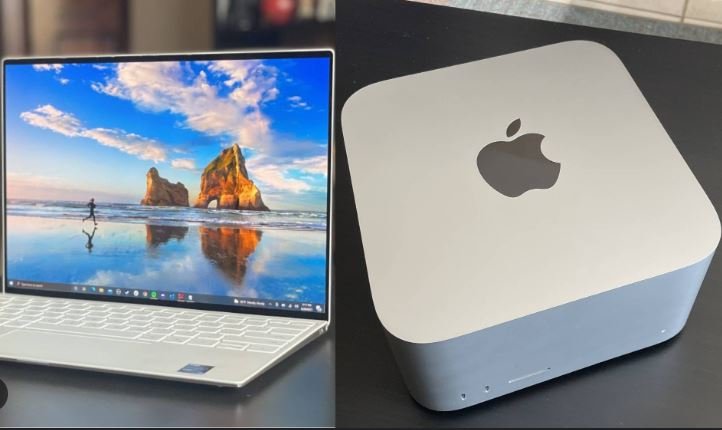
Building your own desktop PC can be an incredibly rewarding experience, offering you the chance to create a customized machine that perfectly suits your needs. Whether you’re a gamer, a content creator, or just someone who wants a reliable computer, assembling your own PC gives you control over the components and performance. This guide will walk you through the process, from selecting the right parts to putting everything together.
1. Understanding the Basics: What You Need to Know
Before diving into the build, it’s important to understand the basic components that make up a desktop PC. Here are the key parts you’ll need:
- Central Processing Unit (CPU): The brain of your computer, responsible for processing data and running applications.
- Motherboard: The main circuit board that connects all the components of your PC.
- Memory (RAM): Short-term memory that your PC uses to store data that is actively being used or processed.
- Storage (HDD or SSD): Long-term storage for your operating system, applications, and files. SSDs are faster but more expensive, while HDDs offer more storage at a lower cost.
- Power Supply Unit (PSU): Provides power to all components in your build.
- Graphics Processing Unit (GPU): Handles rendering images and video, crucial for gaming and video editing.
- Case: The enclosure that holds and protects all your components.
- Cooling System: Keeps your components from overheating, including fans and, optionally, liquid cooling systems.
2. Choosing the Right Components
Compatibility: Make sure the components you choose are compatible with each other. For instance, your CPU should fit the motherboard socket, and your power supply should provide enough wattage to support all your components.
Budget Considerations: Set a budget before you start buying parts. Decide which components are most important to you (e.g., GPU for gaming) and allocate your budget accordingly.
Future-Proofing: Consider choosing components that will last and be compatible with future upgrades. For example, opt for a motherboard that supports the latest generation of CPUs and has extra RAM slots.

3. Assembling Your PC: Step-by-Step Guide
Preparation: Start by gathering all your components and tools. You’ll need a screwdriver, thermal paste (if your CPU doesn’t come with pre-applied paste), and a clean workspace.
Install the CPU: Place the CPU into the socket on the motherboard carefully. Align it according to the markers, and gently lower it into place. Once secure, attach the CPU cooler.
Install the RAM: Insert the RAM sticks into the appropriate slots on the motherboard. They should click into place firmly.
Mount the Motherboard: Secure the motherboard inside the case using screws. Make sure it aligns with the standoffs pre-installed in the case.
Install Storage: Mount your SSD or HDD in the case. If using an SSD, you might need to screw it into a bracket or use a designated slot on the motherboard.
Install the PSU: Mount the power supply in its designated area in the case, typically at the bottom. Connect the power cables to the motherboard, CPU, and GPU.
Install the GPU: Insert the GPU into the PCIe slot on the motherboard. Secure it with screws and connect the power cables if required.
Connect the Cables: Connect all necessary cables, including those for the power supply, case fans, and front-panel buttons. Make sure everything is properly seated.
Power On and Test: Once everything is connected, close the case, plug in your monitor, keyboard, and mouse, and power on the PC. Enter the BIOS to ensure all components are recognized and working.
4. Installing the Operating System
With your PC assembled, the next step is to install the operating system (OS). Most users opt for Windows, but you could also choose Linux or another OS depending on your needs.
Create a Bootable USB: Download the OS installation file and create a bootable USB drive. Insert it into your PC and boot from the USB.
Follow Installation Prompts: Follow the on-screen prompts to install the OS on your SSD or HDD. Once complete, you’ll have a basic setup ready for use.
5. Optimizing Your Build
Driver Installation: After the OS is installed, update all drivers for your motherboard, GPU, and other components. This ensures everything runs smoothly.
Overclocking (Optional): If you want to squeeze more performance out of your CPU or GPU, consider overclocking. This should be done carefully, as it can increase heat and power consumption.
Cable Management: Properly routing and securing cables inside your case improves airflow and makes your build look neat. Use zip ties or Velcro straps to bundle cables together.
Conclusion
Building your own desktop PC is a rewarding project that gives you a customized machine tailored to your needs. By carefully selecting components and following a step-by-step assembly process, you can create a powerful and reliable computer. Whether you’re a beginner or a seasoned builder, this guide will help you navigate the process and enjoy the satisfaction of using a PC you’ve built yourself.


