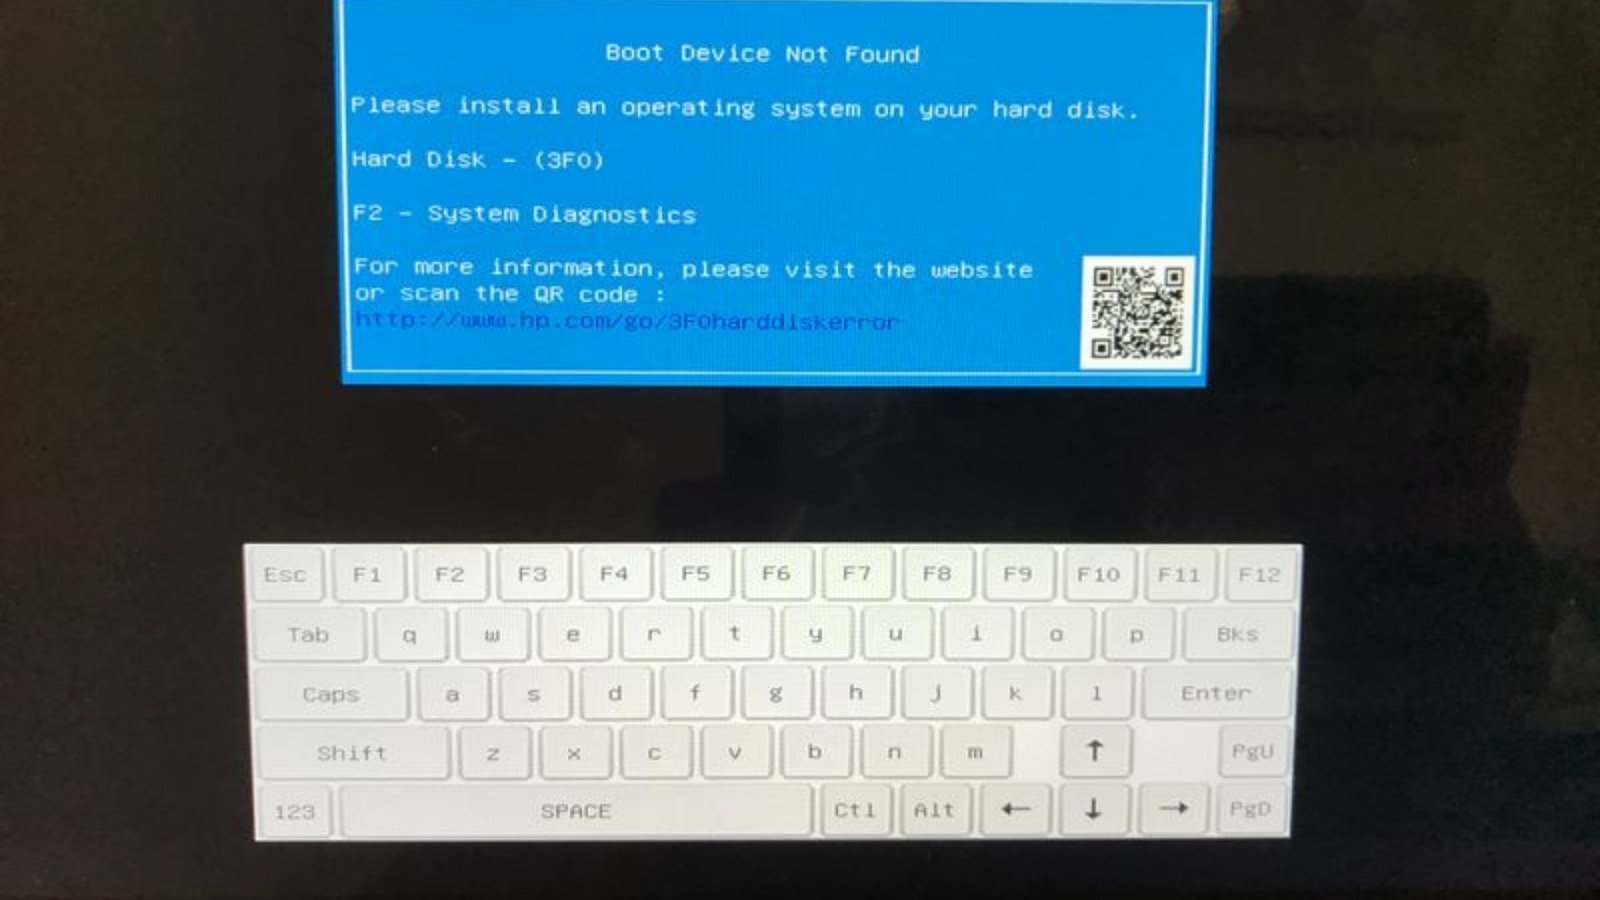
Installing a new operating system on your laptop can refresh your device, enhance performance, and introduce new features. Whether you’re upgrading to a newer version or switching to a different OS, the process can seem daunting. However, with the right steps, you can handle it smoothly. Here’s a step-by-step guide on installing a new operating system on your laptop.
Prepare Your Laptop for Installation
Before you start installing a new operating system on your laptop, it’s crucial to prepare your laptop properly. This preparation helps ensure the process goes smoothly and prevents data loss.

1. Backup Your Data
The first step in installing a new operating system on your laptop is to back up all your important files. Use an external hard drive or a cloud storage service to save documents, photos, and other crucial data. This precaution ensures you won’t lose anything valuable during the installation.
2. Check System Requirements
Ensure your laptop meets the system requirements for the new operating system. Visit the OS provider’s website to check the minimum specifications needed. This step helps avoid compatibility issues later.
Create Installation Media
To install a new operating system, you need installation media. This media can be a USB drive or a DVD containing the OS files.
1. Download the OS
Visit the official website of the operating system you want to install and download the installation file. Make sure you’re downloading from a reliable source to avoid corrupted files or malware.
2. Create Bootable Media
Use tools like Rufus (for Windows) or Disk Utility (for macOS) to create a bootable USB drive or DVD. Follow the instructions provided by these tools to ensure the media is prepared correctly for installing a new operating system on your laptop.
Install the New Operating System
With your laptop prepared and installation media ready, you can proceed with the actual installation.
1. Insert the Installation Media
Plug in the bootable USB drive or insert the DVD into your laptop. Restart your laptop and enter the BIOS or UEFI settings (usually by pressing F2, F12, or DEL during startup). Change the boot order to prioritize the USB drive or DVD.
2. Start the Installation Process
Save your BIOS/UEFI settings and restart your laptop. The laptop should boot from the installation media. Follow the on-screen instructions to begin the OS installation. You may be asked to choose installation options, such as language, time zone, and partition settings.
3. Partition Your Drive
During the installation process, you might need to partition your hard drive. If you’re replacing an existing OS, you can choose to format the drive or overwrite it. If you’re dual-booting, create a new partition for the new OS. Make sure to carefully follow the instructions to avoid data loss.
Complete the Installation
Once the installation process begins, it might take some time to complete. Here’s what to do next:
1. Follow Setup Instructions
After the OS is installed, follow the setup instructions to configure your new operating system. This may include setting up user accounts, adjusting system settings, and connecting to the internet.
2. Install Drivers and Updates
Once your new OS is up and running, install the necessary drivers and updates. Visit your laptop manufacturer’s website to download the latest drivers for your hardware. Also, check for operating system updates to ensure your system is secure and up-to-date.
Restore Your Data
After successfully installing a new operating system on your laptop, you’ll want to restore your data.
1. Transfer Back Your Files
Copy the backed-up files from your external drive or cloud storage back to your laptop. Ensure that all your important documents, photos, and other data are returned to their original locations.
2. Reinstall Applications
Reinstall any applications you used on your previous operating system. You may need to download installation files or use software management tools to get everything back in place.
Conclusion
Installing a new operating system on your laptop can be a transformative experience, giving your device a fresh start and improved performance. By preparing properly, creating the right installation media, and following the steps carefully, you can ensure a smooth transition. Remember to back up your data, check compatibility, and restore your files after installation. With these tips, you’ll be well on your way to enjoying your new operating system.


