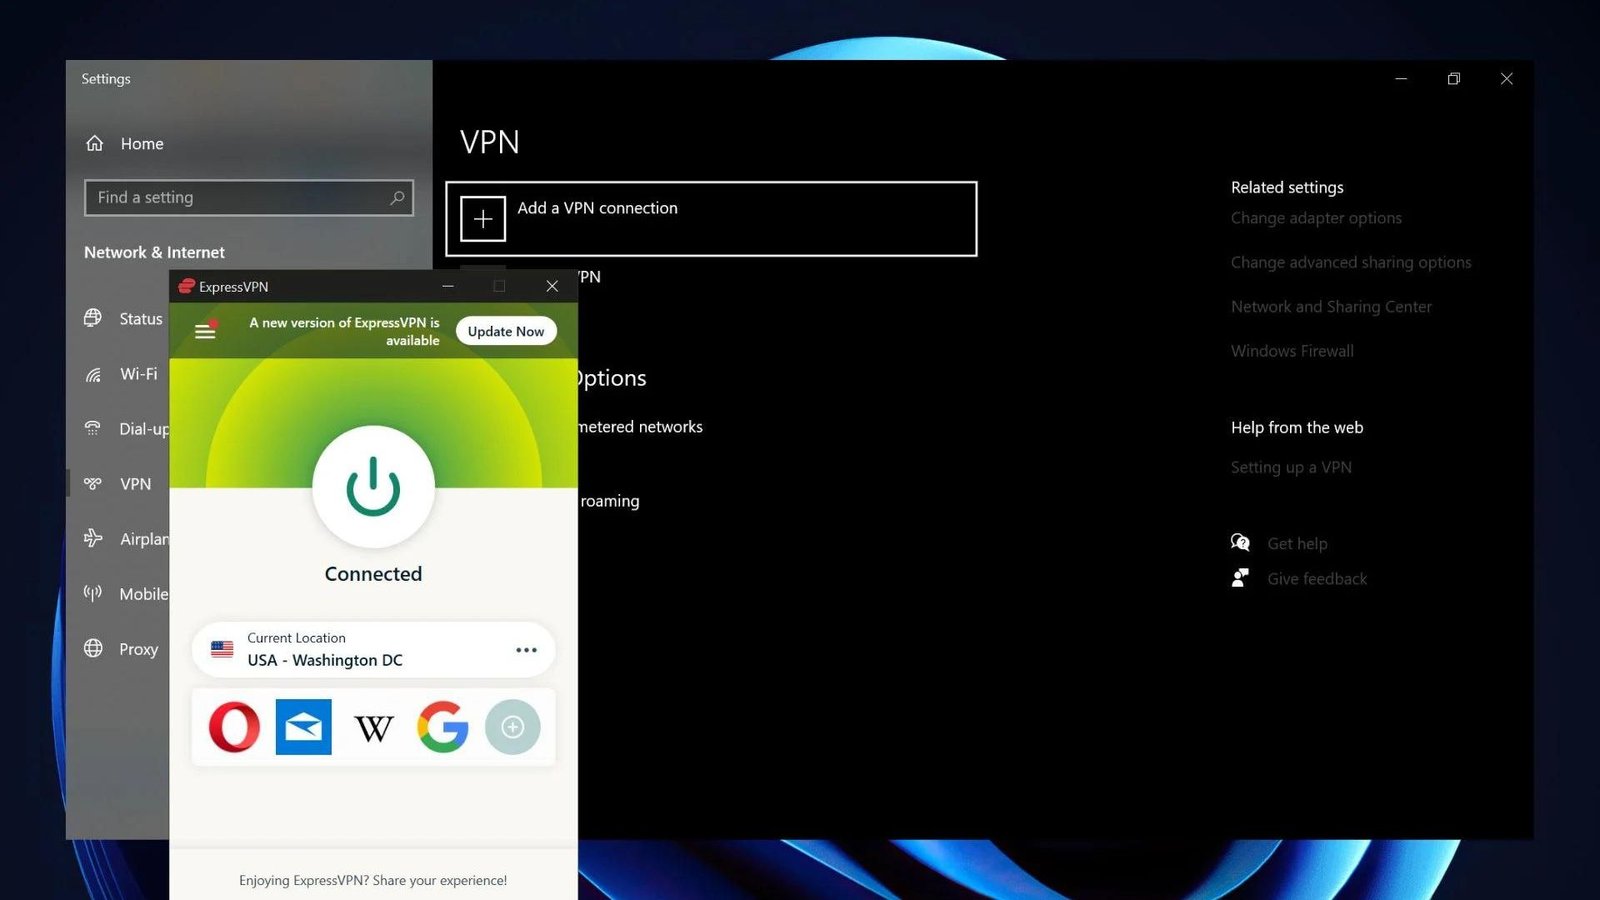
Setting up a VPN on your laptop is a crucial step in safeguarding your online privacy and securing your internet connection. Whether you want to protect your data on public Wi-Fi or access content restricted to certain regions, a VPN (Virtual Private Network) is a valuable tool. In this guide, we’ll walk you through the process of setting up a VPN on your laptop, highlighting essential steps and tips to ensure a smooth setup.
Why You Need a VPN
Before we dive into the setup process, it’s important to understand why setting up a VPN on your laptop is beneficial. A VPN encrypts your internet connection, which means your online activities are hidden from prying eyes. This helps protect your personal information from hackers and keeps your browsing habits private. Additionally, a VPN allows you to access content that might be restricted in your location, giving you more freedom on the web.

Choosing the Right VPN Service
The first step in setting up a VPN on your laptop is selecting a reliable VPN service. Look for a provider that offers strong encryption, a no-logs policy, and servers in multiple locations. Popular options include NordVPN, ExpressVPN, and CyberGhost. Make sure to choose a VPN that fits your needs and budget.
Downloading and Installing the VPN Software
Once you’ve chosen a VPN service, the next step is to download and install the VPN software. Most VPN providers offer easy-to-follow instructions for their apps. Here’s a general guide to setting up a VPN on your laptop:
1. Visit the VPN Provider’s Website
Go to the official website of the VPN service you’ve chosen. Look for the download section, which is usually prominently displayed.
2. Download the VPN Software
Select the version of the software that matches your laptop’s operating system (e.g., Windows, macOS). Click the download link and save the installer file to your laptop.
3. Install the VPN Software
Open the installer file and follow the on-screen instructions to install the VPN software. This process typically involves agreeing to the terms of service and selecting installation preferences.
Configuring the VPN Settings
After installing the VPN software, you’ll need to configure the settings to get the most out of your VPN. Here’s how you can do it:
1. Launch the VPN Application
Open the VPN application from your laptop’s start menu or desktop shortcut.
2. Log In to Your Account
Enter your login credentials. If you don’t have an account yet, you’ll need to create one and possibly purchase a subscription.
3. Choose a Server Location
Select a server location based on your needs. If you want to access content from a specific country, choose a server in that country. For general privacy, you can select a server close to your actual location.
4. Adjust Security Settings
Most VPNs allow you to adjust security settings such as encryption levels and connection protocols. For the best security, choose the highest encryption option and a reliable protocol like OpenVPN or WireGuard.
Connecting to the VPN
Now that you’ve configured the VPN, it’s time to connect:
1. Click the Connect Button
In the VPN application, find and click the “Connect” button. The app will establish a secure connection to the chosen server.
2. Verify the Connection
Once connected, verify that your VPN is working by checking your IP address and ensuring it matches the server location you selected. You can use websites like WhatIsMyIP.com to confirm this.
Using Your VPN
With your VPN active, all your internet traffic will be encrypted and routed through the VPN server. This means you can browse the web, stream content, and use online services securely and privately. Remember to keep the VPN connected whenever you’re online for maximum protection.
Troubleshooting Common Issues
If you encounter any issues while setting up a VPN on your laptop, here are a few tips:
1. Restart the VPN Application
Sometimes, simply restarting the VPN app can resolve connection issues.
2. Check Your Internet Connection
Ensure that your internet connection is stable. A weak connection can affect VPN performance.
3. Update the VPN Software
Make sure you’re using the latest version of the VPN software, as updates often include bug fixes and performance improvements.
Conclusion
Setting up a VPN on your laptop is a straightforward process that significantly enhances your online security and privacy. By choosing a reliable VPN service, installing the software, and configuring it correctly, you can protect your personal information and enjoy a more secure internet experience. Follow these steps to ensure your VPN setup is successful and your online activities remain private.


